


By Wendy Vecchi

Wendy Vecchi Archival So Very Happy Tag
- Materials
- Instructions
- Archival Ink™ Designer Series: Wendy Vecchi: Orange Blossom, Watering Can, Fern Green, Red Geranium
- Tim Holtz® Distress Stains™: Tarnished Brass
- Tim Holtz® Distress Ink Pads: Brushed Corduroy
- Tim Holtz® Distress™ Markers: Peeled Paint
- Ranger Ink Blending Tool & Foam
- Ranger Brayers
- Ranger Cut n’ Dry™ Foam and Felt Pads
- Ranger Non-Stick Craft Sheet™
- Ranger Heat it™ Craft Tool
- Tim Holtz Idea-ology: Tissue Wrap, Label Letters, Sanding Grip
- Tim Holtz Sizzix: Notebook embossing folder, Tattered Florals die Vagabond or other embossing machine
- Stampers Anonymous Wendy Vecchi studio 490: Stamps Reverse Dots (WVBG005), Daisy Art (LCS101), Art Parts Lots of Leaves, Stencil Lovely Leaves, Clearly for Art (Clear)
- Studio 490/Blossom Bucket embellishment Gold Berry Centers
- black chipboard scrap
Instructions
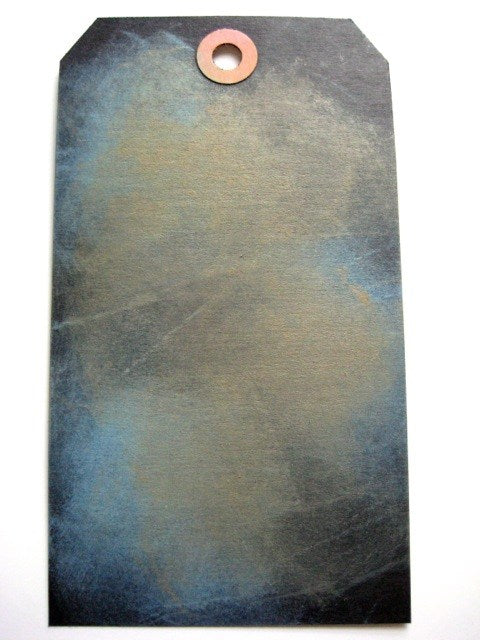
1. Cut a #8 black tag to 5 1/2 inches tall.
2. Shake 4 Distress Paints to mix well. Dispense a small amount of each onto the Craft Sheet.
3. Pick up a small amount of Salty Ocean with the Blending Tool & pounce over the tag, making sure to leave some black tag showing & dry. YES…it is ugly…but keep going! I promise it gets better.

4. Pick up a small amount of Rusty Hinge, pounce over tag & dry.
5. Pick up a small amount of Peeled Paint, pounce over tag & dry. hmmm…looking better.

6. Pick up a small amount of Broken China, pounce over tag & dry. Now it’s a great background!

7. Emboss tag with embossing folder. Use the sanding grip to randomly sand the paint from the raised areas.

8. Stencil the leaves 2 times, using Watering Can Archival. Use the Blending Tool or use Cut n’ Dry Foam to stencil, then dry.

9. Shake the Tarnished Brass Stain & with a fairly dry dabber top, edge the tag & dry.
10. If the paint did not cover the reinforcer, color over it with the Distress Marker, so that it blends into the background.
11. Apply a thin layer of Glue n’ Seal to a sheet of clearly for art, cover with tissue wrap, brayer & dry.
12. Cut 2 of the smallest flowers, using the Tattered Florals die. Paper side is the front.

13. Stamp the reverse dots over the flowers, using Red Geranium. Dry, then lightly add Orange Blossom Archival & dry.
14. Use Watering Can to stamp the daisy onto the tissue side of the Clearly for Art. Sprinkle with embossing powder, heat to emboss. Cut out flower.
15. Ink over the daisy with Orange Blossom Archival & dry.
16. Heat all 3 flowers to soften the Clearly for Art, then shape to create dimensional flowers.
17. Ink the reverse dots stamp with Fern Green & stamp over the 2 sets of Art Parts leaves.
18. Choose the sentiment & ink over the letters with Brushed Corduroy on the Blending Tool. Add black chipboard scraps under the words, to create dimension.
19. Assemble the tag as shown.
20. Add the berries to accent the flower centers.
Things To Note:
1. When using Glue n’ Seal to add tissue wrap over the Clearly for Art. You’ll see it does not bubbly the wrap. Glue n’ Seal is awesome for adding papers to any surface.
2. Clearly for Art can be reheated and reshaped as many times as needed.
3. Apply the Distress Paint to the Craft Sheet, not the tag. While pouncing the paint onto the tag, twist & turn the Blending Tool for a random effect.
4. Distress Paints dry quickly on the foam, so I used the same foam for all four paints. Keep the foam & reuse many more times.
5. Distress Paints are waterproof when dry.
6. Archivals are permanent when dry & are perfect for stamping over Distress Paint and many other surfaces.
7. Rubbing alcohol will remove Archival Ink from stencils easily.
8. Superfine Detail Embossing Powder melts quickly and is great for fine- lined stamp images.
9. Leaving some of the black tag showing thru creates easy natural shading.
Related Posts

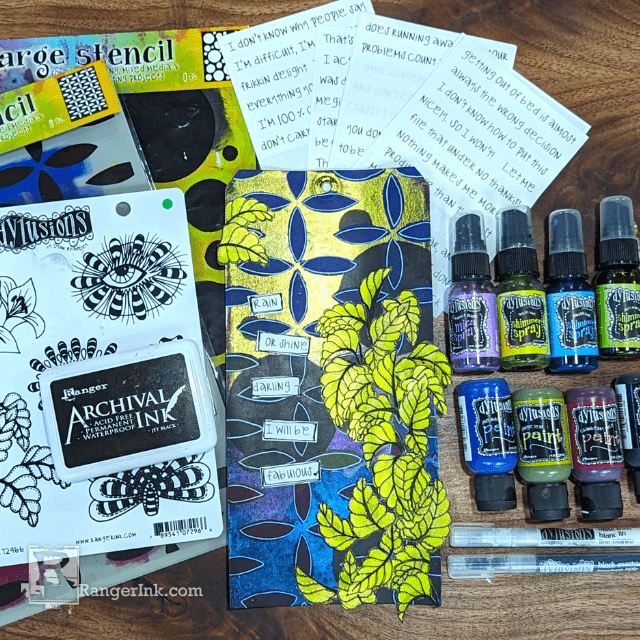
Dylusions Shimmer Spray Tag by Denise Lush
Unleash a world of shine! Check out Denise Lush's latest creation using the enchanting Dylusions Shimmer Sprays and...
Read More
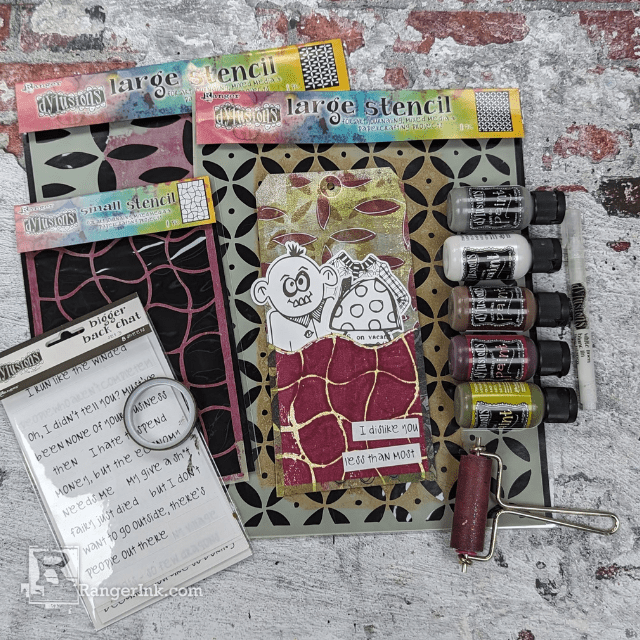
Dylusions Brayered Background Tag by Denise Lush
Check out Denise Lush's tutorial on crafting this cool, grunge-inspired Dylusions Brayered Background Tag! Follow along as she uses the...
Read More