


by Tammy Tutterow

Springtime Watercolor Media Board by Tammy Tutterow
- Materials
- Instructions
Instructions

I enjoy creating small decor pieces that I can give to friends in place of cards. They serve as both a gift and a card and can be displayed easily. This project features the fun new colors added to the Ranger Dabber Paint collection which are perfect for creating a spring flower themed project. By adding water to these versatile paints, I can create a watercolor look project that is a perfect fit for Dina Wakley’s popular Scribbly stamps. This piece can easily be adapted to a card also for cardmakers.
 Step 1: Ink a large background script stamp (stamp shown: Dear Ruby by Tammy Tutterow) with Cool Graphite ink. Cool Graphite is a perfect color for adding subtle detail to a background. Place a 4×6 piece of Watercolor Paper texture side down onto the inked stamp. Run your hand over the back of the paper to transfer the design onto the paper.
 Step 2: Dab Blue Yonder paint onto your Craft Sheet. Mist the paint with water to create a thin watercolor paint wash. The more water you add, the more transparent the paint will become. Use a wide brush to apply the paint in random streaks from top to bottom over the stamped image. The stamped image is meant to be subtle so don’t worry if you cover it completely in places. It should look like it fades in and out.
 Step 3: Dab Pearl Metallic paint onto your craft sheet. Mist the paint with water. Use a wide brush to apply the paint in random streaks over the Blue Yonder streaks and the stamping.
 Step 4: Dry the cardstock with a Heat Tool.
 Step 5: Use an Ink Blending Tool with foam to apply Java Bean ink around the edges of the watercolor paper.
 Step 6: Use an Ink Blending Tool to apply Buttered Popcorn ink to the upper right corner of the cardstock to add a “sunshine” highlight to the background.
 Step 7: Use a sanding grip to sand around the edges to add a distressed defined edge. Remember to never sand on your Non-Stick Craft Sheet as it will damage the surface.
 Step 8: Stamp three flower images and one insect onto a piece of Watercolor Paper using Cool Graphite ink. Cool Graphite will give the images a sketched look similar to a watercolor painting.
 Step 9: Dab an assortment of paint colors onto your Craft Sheet. Mist the paint generously with water to create a watercolor paint wash. Include Glacier Whit vellum e in your color selections so that it can be mixed with the other colors to create additional color shades. (Colors shown: Emerald Isle, Lavender Field, Raspberry Sorbet, and Buttered Popcorn.)
 Step 10: Use a brush to pick up paint and blot it onto the stamped images. You can vary the intensity and transparency of the color by adding more water or Glacier White. Do not worry about staying in the lines of the images, they will be cut out later. Also don’t worry if you have areas where your stamping is covered, it is meant to look like a light pencil sketch in the background so it should not look particularly crisp.
 Step 11: Add in additional colors of paint to add more detail. You may find it helpful to keep an art towel nearby to blot any especially wet paint spots as you paint. (I often blot after each dab of color to help control the amount of water going onto the paper.)
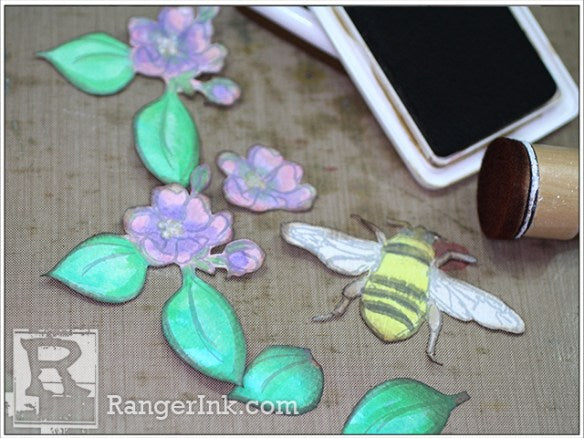 Step 12: Dry the paper with a Heat Tool. Cut out each stamped image with scissors. Use an Ink Blending Tool to lightly brush along the edge of each piece to cover the white edge of the paper. (I used Java Bean on the edges, but Cool Graphite would also be a great choice.)
 Step 13: Adhere two of the flower pieces to the lower left corner of the cardstock.
 Step 14: Cut the two leaves and flower apart on the third stamped flower image. Adhere the flower behind the first two. Adhere the leaves so that they are tucked in and filling the gaps of the first two sets of leaves.
 Step 15: Dab Buttered Popcorn paint onto your craft sheet. Mist the paint with water. Place a scrap piece of Watercolor Paper texture side down into the paint. Lift the paper up and dry with a Heat Tool.
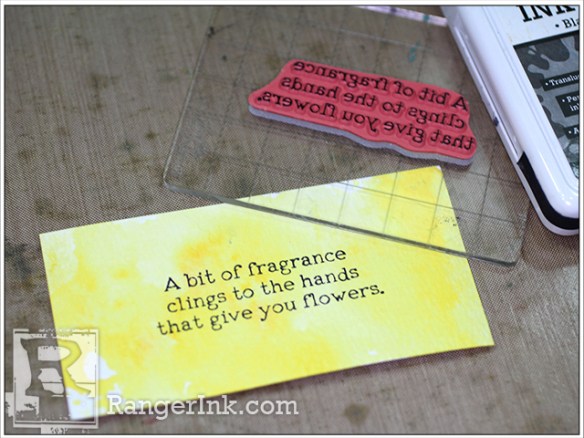 Step 16: Stamp a sentiment onto the cardstock using Black Tie ink. Trim the paper as needed to fit the quote.
 Step 17: Adhere the quote and the insect to the piece using adhesive foam.
 Step 18: Rub ink pads directly over the surface of a media board. The direct ink application will color raised areas and leave indented areas white highlighting the texture of the board. Wipe over the board with a dry cloth to remove any excess ink. (Colors shown: Buttered Popcorn and Java Bean.)
 Step 19: Cut or tear a piece of vellum so that it is slightly larger than the cardstock but smaller than the media board. Adhere the vellum and then the cardstock to the top of the media board.
 Step 20: Add any additional elements like stitching or embellishments to complete the design. (Yes, you can sew through media boards!


Related Posts

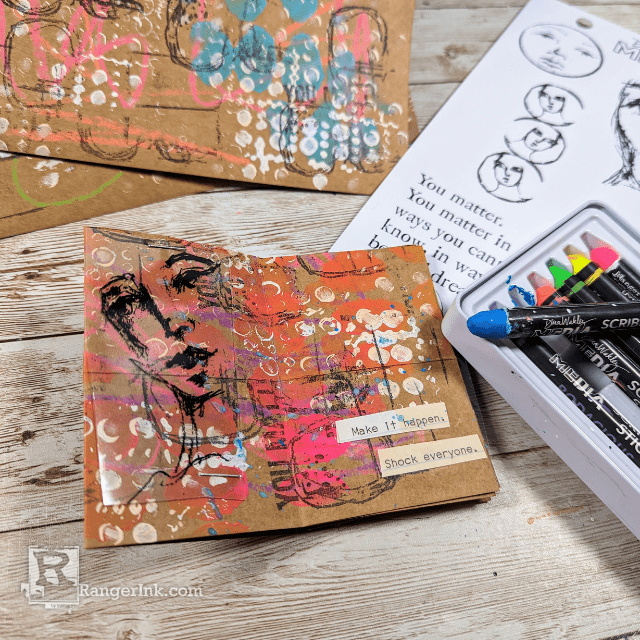
Dina Wakley Media Mini Zine by Laura Dame
Prepare to get messy in the most magnificent way! Laura Dame spills her secrets on creating a mini...
Read More
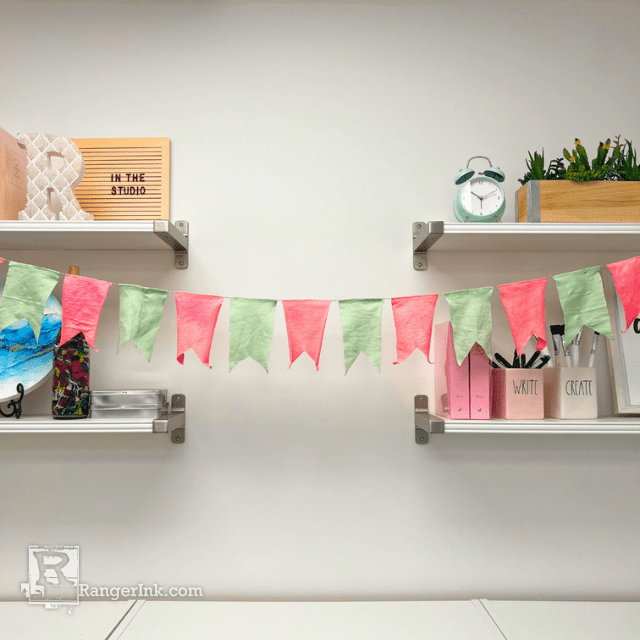
Earth Day Spring Bunting by Teresa Natividad
Celebrating Earth Day with creativity and sustainability! In this tutorial, Teresa Natividad creates a spring bunting made from old...
Read More