


In this tutorial, Milagros shares how she combines black QuickCure Clay with Perfect Pearls to create a DIY cuff bracelet.
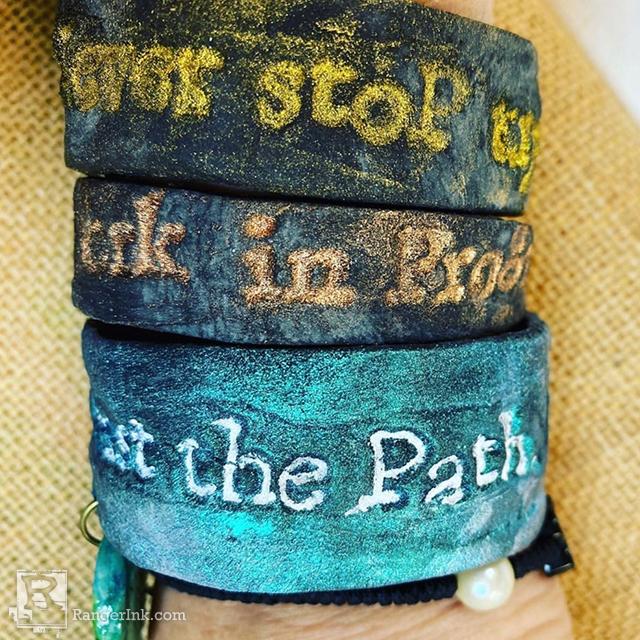
QuickCure Clay Cuff by Milagros Rivera
- Materials
- Instructions
Instructions

Step 1: Nestle the clay between two pieces of parchment paper and use a rolling pin to roll it flat.

Step 2: After rolling, mark the space where the cuff will be and then stamp straight into the clay.

Step 3: Using a craft knife, cut the piece of clay according to the outline.

Step 4: Use a bronze cuff blank to shape and cure the clay. Don’t fret, when it cools it will pop out of your blank as QCC doesn’t adhere to metal.

Step 5: If you’d like to add a dangle or charm now is the time to create the hole. Cure according to the package instructions.

Step 6: Once it is cured, brush the clay with the Perfect Pearl or QuickCure Clay Pearlescent Powder color of your choice. Set the color with a mist of water and they’re ready to wear!

