


Hey y’all! Kelli here with another easy tutorial on using Perfect Pearls as watercolors. This is the perfect way to get shimmer and color onto your projects with using the supplies you already have.

Perfect Pearls Watercoloring by Kelli Cool
- Materials
- Instructions
- Perfect Pearls™ Pigment Powders: Mint, Pink Gumball, Grape Fizz, Turquoise, Forever Green, Sunflower Sparkle, Forever Blue, Merriment Red
- Tim Holtz Distress® Watercolor Cardstock
- Letter It™ Embossing Ink Pad
- Ranger Embossing Powders: Black Sparkle
- Tim Holtz® Waterbrush: Detailer Brush
- Ranger Heat it™ Craft Tool
- Ranger Non-Stick Craft Sheet™
- Letter It™ Surfaces: Grey Cardstock
- Tim Holtz by Stampers Anonymous Cling Mounted Rubber Stamp Set – Botanical Sketch
- Tim Holtz by Tonic Studios Stamping Platform
- Palette
- Sequins
Instructions

Step 1: Scoop out some Perfect Pearls into each compartment in your palette. Then add some water- just enough to make it thick and milky. Test out on some scrap watercolor paper to see what kind of color you’re going to get. If it’s too dark- add more water, if it’s too light- add some more pigment.

Step 2: Get out your Tim Holtz Stamping Platform. We’re going to get ready to heat emboss the image. This keeps the watercolors from spreading around, which is perfect for an amateur watercolorer like me! Place your watercolor paper first and then the stamp red rubber side down on your stamping platform. Place your magnets to hold down the watercolor paper.

Step 3: Shut the top to the stamping platform and press down- this will pick up the stamp and leave your watercolor paper in place.

Step 4: Open up the stamping platform and your stamp will be stuck to the clear plastic. Be sure to swipe your anti-static pouch over your watercolor paper. This will ensure your embossing powder will go only where you want it to go. Then, take your embossing ink pad and ink up your stamp. Close the lid and press down to make sure your ink is all over your watercolor paper. You might have to do this several times to make sure the embossing ink is exactly where you want it.

Step 5: Now, sprinkle the embossing powder over the image and shake the excess off. You will see the powder only adhered to where the embossing ink was on your paper- revealing your stamped image.
Take your heat tool and start melting the embossing powder. You will see the powder turn shiny and that’s how you know it’s melted. Don’t hold the heat in one place too long because it will warp or burn your paper!

Step 6: Now, time for the real fun! You can use any paint brush for this- I use an empty water brush. Dip it in your Perfect Pearls mixture and begin painting! Be sure to mix around your Perfect Pearls because they might start to settle or get a film on the top.

Step 7: Color any and everywhere you want. I even took some of the Perfect Pearl color and went in the middle of my image to give it a little more shimmer.

Step 8: Now time to assemble the card! I adhered the colored image on to some light gray cardstock and typed up an additional sentiment on my typewriter. Added a few sequins and that’s it! A beautiful Mother’s Day card!

Related Posts

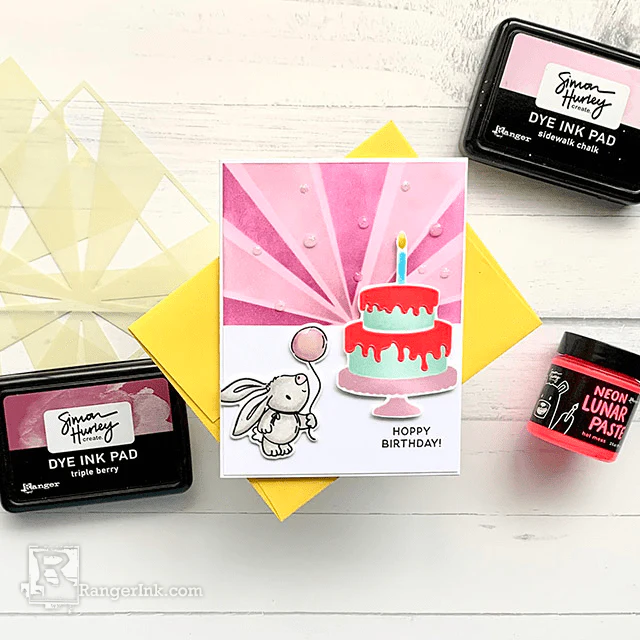
Simon Hurley create. A Very Hoppy Birthday Card by Lieschen Harshbarger
Hop into birthday fun with this adorable card tutorial by Lieschen Harshbarger! Using the new vibrant Simon Hurley create....
Read More
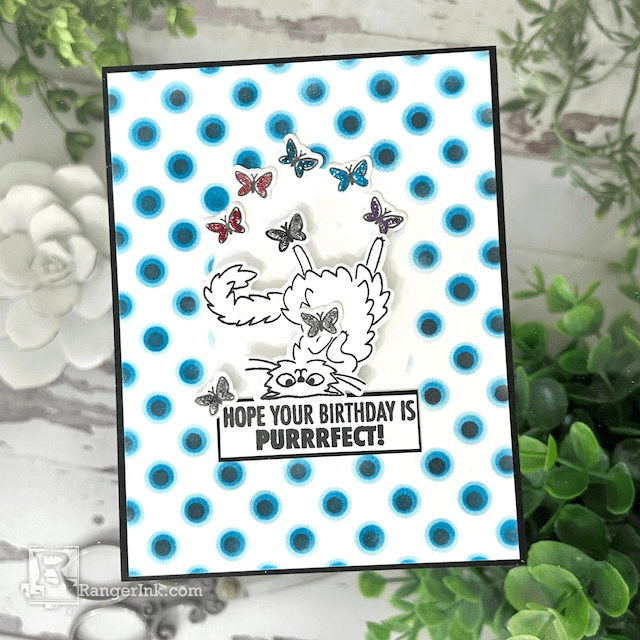
Archival Ink & Stickles Birthday Card by Kimberly Boliver
Purrfect Birthday Wishes! In this tutorial, Kimberly Boliver uses the latest Archival Inks and Stickles to whisker up a birthday...
Read More