


Create this vibrant, pearlescent card with Perfect Pearls™!

Pearly Smile Card By Robin Beam
- Materials
- Instructions
Instructions
(1) On black linen cardstock, stamp flower image 5 times with Clear Perfect Medium Pad. Sprinkle on Clear Embossing Powder; tap off excess and return to jar.
(2) Emboss images with Craft Tool.
(3) Dip Waterbrush into chosen colors of Perfect Pearls and mix onto Craft Sheet to create paint. Because of the binders in the Perfect Pearls, it can be used wet or dry.
(4) To create tones of color, start with Jewel Tone (Forever Red, Green, Violet or Blue). Paint in an area of the flower. Mix in tones of color that are similar (for example, if using Forever Green, create other green tones with Interference Green, Kiwi, Green Patina, etc.). For an even lighter tone, add Perfect Pearl from the Metallics set.
(5) After painting in all flowers, let dry, cut out and set aside.
(6) Cut black linen cardstock into postcard size (4¼” x 5½”). Pick up excess paint from Craft Sheet with Waterbrush and splatter onto paper by gently tapping it over paper against an extended finger. An instant, pearly background!
(7) Place another piece of postcard size black linen cardstock into embossing die and place through Cuttlebug, creating a dry embossed background.
(8) Cover embossed paper with Perfect Medium direct to paper.
(9) Pick up Perfect Pearls dry with smaller Perfect Brush and brush onto the embossed paper. Perfect Medium has been formulated specifically for Perfect Pearls, so it sticks. After brushing on all colors to cover the paper, whisk off excess with larger Perfect Brush. To further set, mist with water from Mini Mister.
(10) Cut out separate words and set aside.
(11) On scrap black linen cardstock stamp “smile” image with Perfect Medium and brush on Interference Violet Perfect Pearls. Brush off. Trim and edge with corner punch. Layer over largest dry embossed word and again onto black cardstock.
(12) Glue on embossed words to the splattered paper, creating a mosaic-type appearance. Layer onto purple and black cardstock.
(13) Attach smile and cut out flowers with PopIt! Shapes.
Related Posts


Simon Hurley create. A Very Hoppy Birthday Card by Lieschen Harshbarger
Hop into birthday fun with this adorable card tutorial by Lieschen Harshbarger! Using the new vibrant Simon Hurley create....
Read More
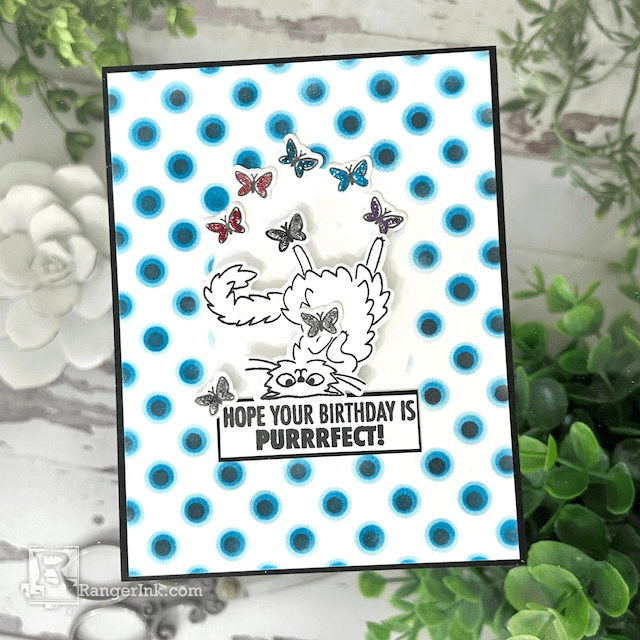
Archival Ink & Stickles Birthday Card by Kimberly Boliver
Purrfect Birthday Wishes! In this tutorial, Kimberly Boliver uses the latest Archival Inks and Stickles to whisker up a birthday...
Read More