


by Wendy Vecchi

Holiday Gift Box by Wendy Vecchi
- Materials
- Instructions
- Archival Ink™ #0 Pad Jet Black
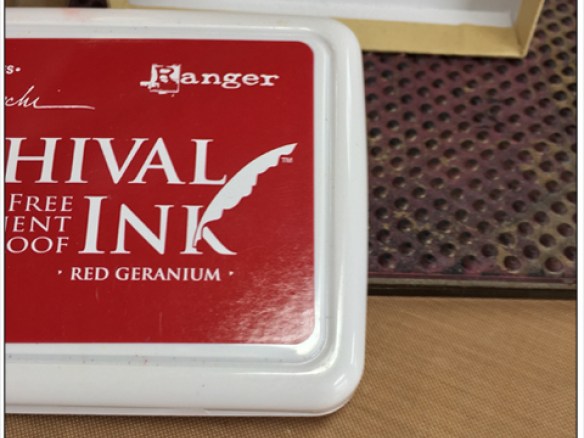
- Archival Ink™ Designer Series: Wendy Vecchi: Fern Green, Red Geranium, Watering Can
- Ranger Adhesive Foam Rolls Black
- Ranger Mini Blending Tool
- Ranger Heat it™ Craft Tool
- Ranger Non-Stick Craft Sheet™
- studio490/wendy vecchi Mat Mini Holly/Berries(WVMMPV04)
- studio 490 wendy vecchi Stamps: Polka Dot background (WVBG024), Holiday Icons (WVSTST011), Holiday Art (SCS127) Say it with Art (SCS126)
- studio 490 wendy vecchi Stencils: YIKES Stripes (WVSFA008)
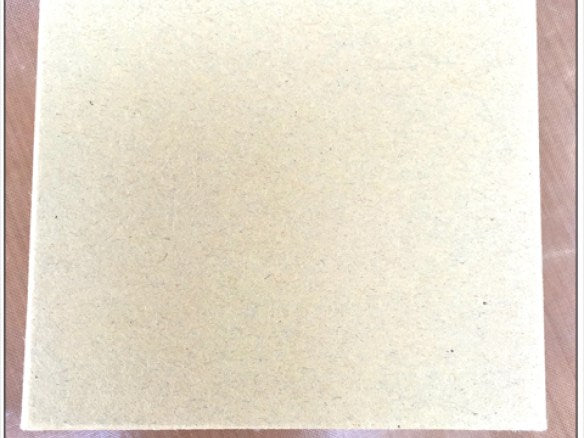
- gift box, approximately 3 3/4 inches square, waterproof black pen, rubbing alcohol
Instructions
 With the holidays fast approaching, I thought I’d share a quick way to jazz up a generic cardboard box. I love these little boxes for gift cards, small trinkets and also for gifting $$$. It’s an inexpensive super quick project…just what we need at this busy time of the year! These boxes come in lots of sizes and they’re handy to have on hand, because they can be quickly altered for lots of special occasions. Gift cards are popular and this is an easy way to make them a little more personal and special.
 Step 1: Ink the holly stamp with Jet Black and press the coordinating holly leaves onto the stamp. Ink the stamp again and press the berries over the berries portion of the stamp. Dry.
 Step 2: Ink over the holly leaves with Fern Green, using the Blending Tool with Foam. Ink over the berries with Red Geranium on the Blending Tool. Dry.
 Step 3: Ink the polka dot background stamp with Watering Can and press the holly leaves onto the inked stamp. Dry.
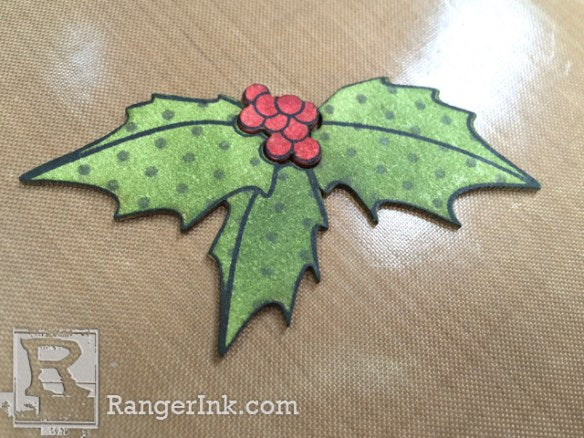 Step 4: The berries will fit into the holly leaves. Two pieces makes it simple to use two ink colors.
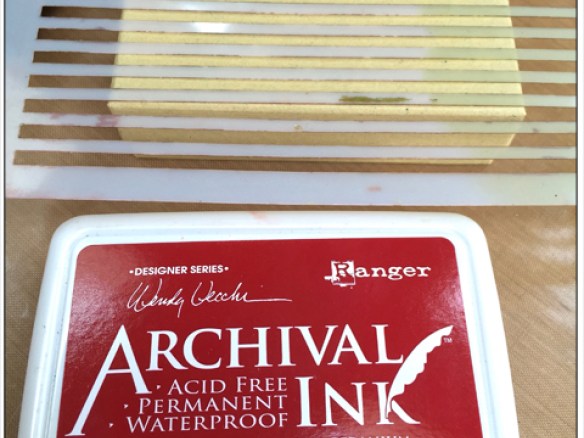
 Step 5: Lay the stencil horizontally over the box top and use the Blending Tool to stencil with Red Geranium. Dry and clean the stencil with rubbing alcohol.
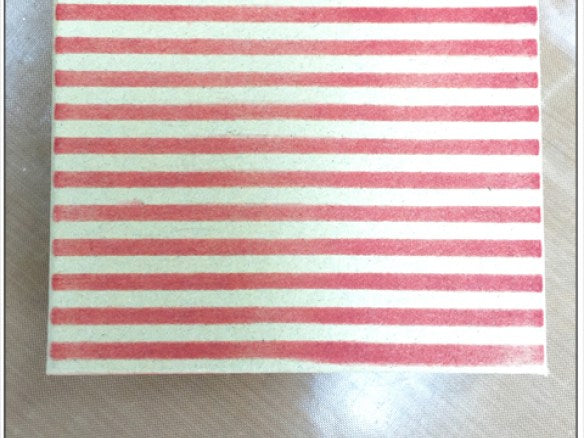 Step 6: The box looks like this.
 Step 7: With the clean stencil, position it over the box top vertically and stencil the stripes again with Fern Green. Dry. This creates a multicolored plaid.

 Step 8: Ink the polka dot background with Red Geranium and press the box top sides onto the inked dots. It’s easiest to work with the opening toward you and press your finger along the inside of the box to transfer the ink.

 Step 9: To create a sturdy stamping surface, place the box top over a closed distress ink pad.
 Step 10: Lay the holly in place to determine where to stamp the flourish. Ink the flourish stamp with Jet Black and stamp in the top left corner. Dry.
 Step 11: With the Distress pad still under the box top, ink the MERRY CHRISTMAS stamp with Jet Black and stamp it at the bottom of the lid, toward the far right. Dry.
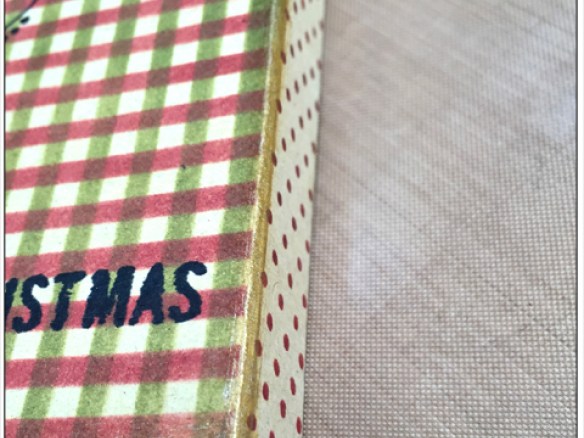 Step 12: Shake the Tarnished Brass Distress Paint, then press onto the craft sheet to make sure the dabber top is moist. Use the dabber to edge the box top and the corners. Dry.
 Step 13: Use the waterproof pen to add pen stitching details to the box top edges. Every detail matters!
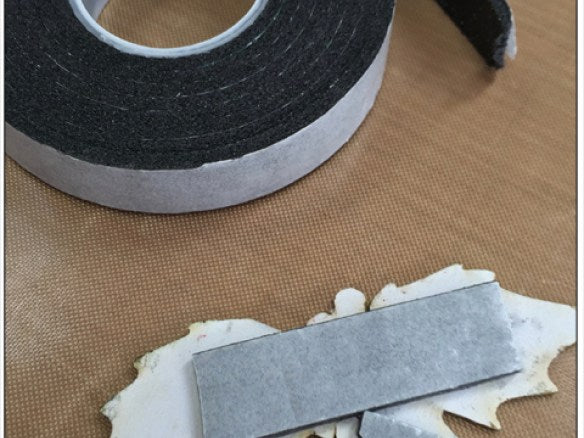 Step 14: Add Black Foam Adhesive to the back of the holly and add over the stamped flourish.
Related Posts

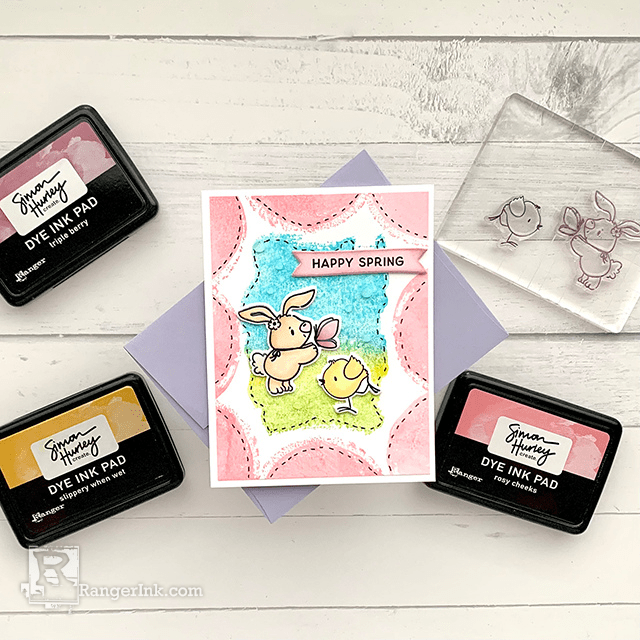
Simon Hurley create. Easter Card by Lieschen Harshbarger
Hop into spring with this adorable Easter card tutorial by Lieschen Harshbarger! Follow along as she uses the latest...
Read More
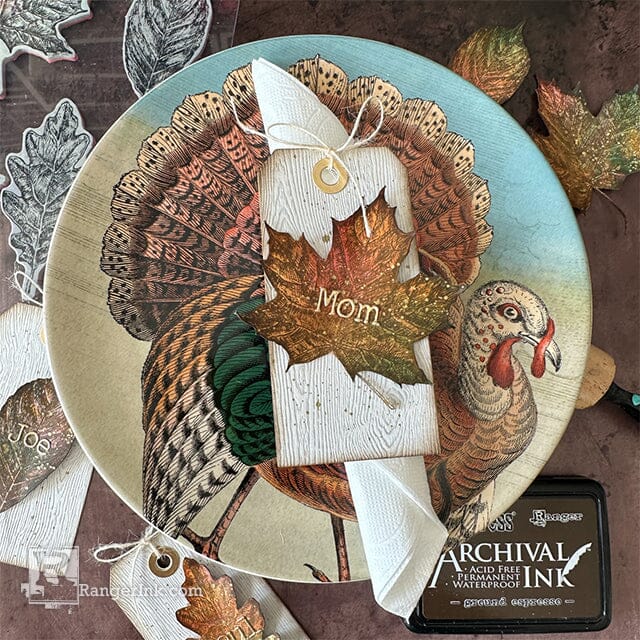
Distress Thanksgiving Leaves Place Cards by Cheiron Brandon
Set a stylish and rustic tone for your Thanksgiving feast with these beautiful Distress Thanksgiving Leaves Place Cards...
Read More