


Hi everyone, Bobbi here. I’m so happy to be with you on the Ranger blog today! I’m sharing a really fun Fall Thank You card, spotlighting the Tim Holtz Alcohol Lift-Ink! Hope you’ll join me
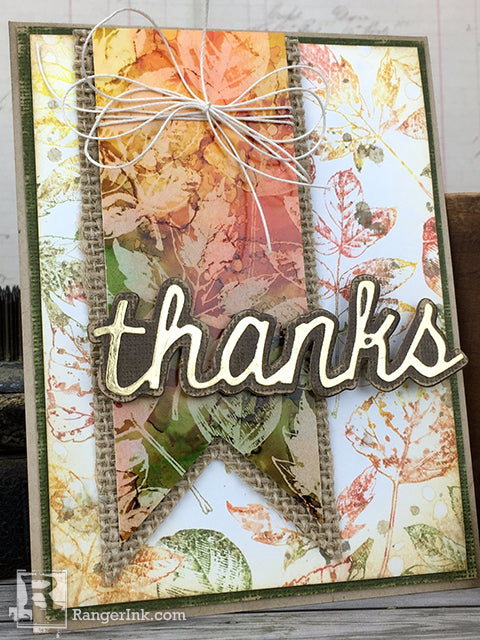
Fall Thank You Card by Bobbi Smith
- Materials
- Instructions
- Tim Holtz® Alcohol Inks:Dandelion, Honeycomb, Sunset, Orange, Valencia, Terra Cotta, Lettuce, Botanical, Pesto, Sepia, Teakwood
- Tim Holtz® Alcohol Blending Solution
- Tim Holtz® Alcohol Lift-Ink
- Tim Holtz® Alcohol Ink Yupo®: White Heavystock
- Tim Holtz Distress® Ink Pads: Antique Linen, Brushed Corduroy, Ground Espresso, Tattered Rose, Victorian Velvet, Aged Mahogany, Mowed Lawn
- Tim Holtz Distress® Spray Stains: Pumice Stone, Frayed Burlap
- Tim Holtz Distress® Watercolor Cardstock
- Archival Ink Cleaner
- Tim Holtz Distress® Collage Mediums: Matte Medium
- Ranger Ink Blending Tool & Foam
- Tim Holtz® Alcohol Ink Mini Applicator Tool and Replacement Felts
- Tim Holtz Distress® Sprayer
- Ranger Non-Stick Craft Sheet™
- Ranger Heat it™ Craft Tool
- Ranger Paper Creasers
- Ranger Adhesive Foam Rolls: Black
- Kraft Cardstock
- Tim Holtz Kushgrip Snips
- Tim Holtz Sanding Grip
- Tim Holtz Acrylic Grid Block
- Tim Holtz Eclectic Elements Craft Thread
- Tim Holtz Idea-ology Textured Surfaces-Burlap, Metallic Kraft-Stock, Paper Stash Classic Kraft
- Tim Holtz Sizzix Thinlits Cut Words #2 662685
- Tim Holtz Stampers Anonymous Nature’s Wonder CMS343
Instructions

Step 1: Let’s get started. Select several different fall colors of Alcohol Ink and Alcohol Blending Solution. The colors I used were Dandelion, Honeycomb, Sunset Orange, Valencia, Terra Cotta, Lettuce, Botanical, Pesto, Sepia and Teakwood. Working on a Non-Stick Craft Sheet, drip Alcohol Inks onto Alcohol Ink Yupo White Heavystock sheet. I dripped lightest to darkest in each color family.

Step 2: Add a few drops of alcohol blending solution to felt on alcohol ink blending tool. Then, tap…tap…tap the felt tool onto the colorized Yupo heavystock until you achieve the amount of alcohol ink color blending you desire. I selected 4 different leaves from the Tim Holtz Stampers Anonymous Nature’s Wonder CMS343 stamp set. Ink stamp with Alcohol Lift Ink and stamp leaf onto Yupo Heavystock. Blot off the image a couple of times on the Yupo Heavystock, then buff off the extra ink with a soft cloth.

Step 3: Then stamp the lifted ink onto smooth side of Distress Watercolor Cardstock. (Side Note) If you have similar stamp placement on both yupo and watercolor cardstock, you can achieve a fun repeat pattern look when assembling card. Clean stamp between stampings with Archival Ink Cleaner, to ensure your Alcohol Lift-Ink pad stays as clean as possible. Repeat steps 2 & 3 stamping leaf variations until Yupo Heavystock and Distress Watercolor Cardstock are full of leaves.

Step 4: Swirl a little Antique Linen Distress Ink onto stamped leaves background panel, using a blending tool with foam. To give your card panel a distressed look. Spritz a little water onto the stamped panel. Squeeze the trigger of the Distress Sprayer gently to release larger droplets of water onto panel. Then dry with heat tool. Splatter a little Pumice Stone and Frayed Burlap Distress Spray Stain by unscrewing the spray nozzle and flicking color onto panel. Then dry with heat tool.
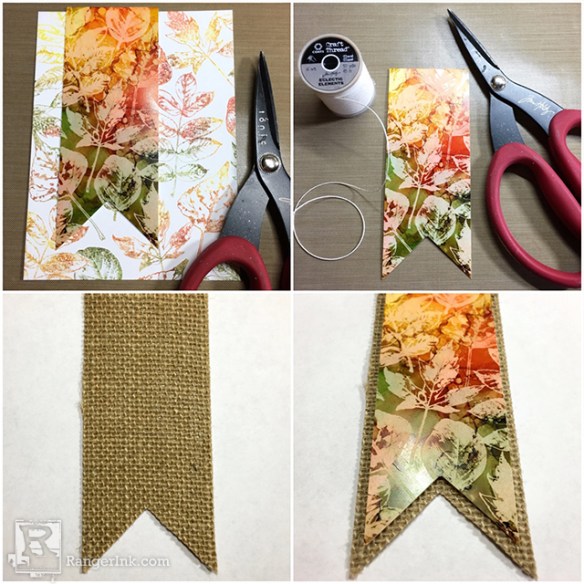
Step 5: Trim Yupo Heavystock to 1 3/4 x 4 3/4, then cut ^ to create the vertical banner. Tie off bow using Eclectic Elements Craft Thread. Then cut a larger vertical banner from Idea-ology Textured Surfaces burlap. The great thing about the burlap is that it already has adhesive ready to go, just peel off backing.

Step 6: Die cut the top layer of the “thanks” shadow script 2 using Idea-ology Gold Metallic Kraft-Stock. Then die cut the shadow portion of “thanks” using the brown from the Idea-ology Paper Stash Classic Kraft. Cut a dark green layering panel from the Idea-ology Paper Stash Classic Kraft. Sand the layering panel and shadow “thanks” with sanding grip on scrap paper to expose kraft. Attach the top portion of the “thanks” to the shadow portion, using Distress Collage Medium.

Step 7: Then assemble an A2 kraft card base with the dark green panel and stamped background panel, using Distress Collage Medium. Place the vertical banner to the left of background panel, just peel off burlap backing to expose adhesive. Attach “thanks” using black adhesive foam cut into small pieces. The k&s from the “thanks” received a couple of layers of adhesive foam to be level with the rest of it.

I have been having so much fun with the new Alcohol Lift-Ink, I hope you give it a try too! Happy crafting!

Related Posts

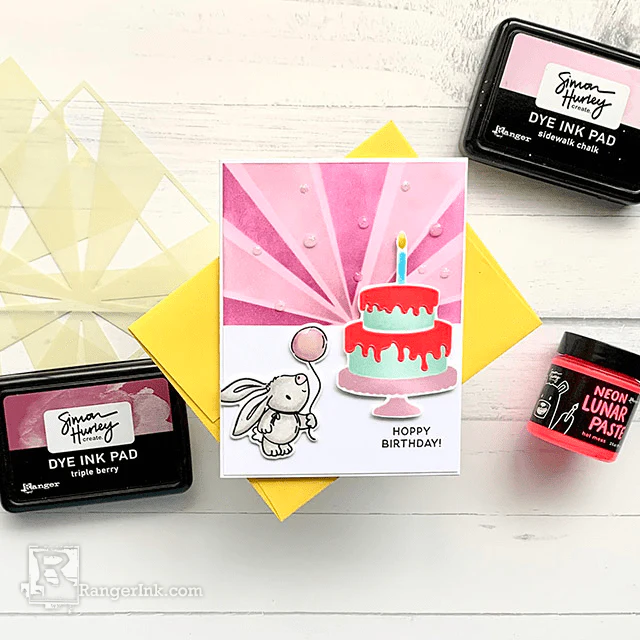
Simon Hurley create. A Very Hoppy Birthday Card by Lieschen Harshbarger
Hop into birthday fun with this adorable card tutorial by Lieschen Harshbarger! Using the new vibrant Simon Hurley create....
Read More
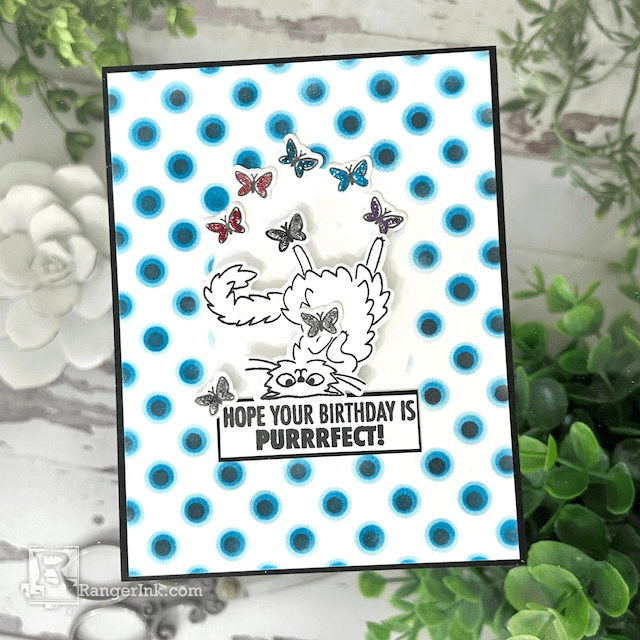
Archival Ink & Stickles Birthday Card by Kimberly Boliver
Purrfect Birthday Wishes! In this tutorial, Kimberly Boliver uses the latest Archival Inks and Stickles to whisker up a birthday...
Read More