


Check out Denise Lush's tutorial on crafting this cool, grunge-inspired Dylusions Brayered Background Tag! Follow along as she uses the latest Dylusions paints and stencils for this technique.
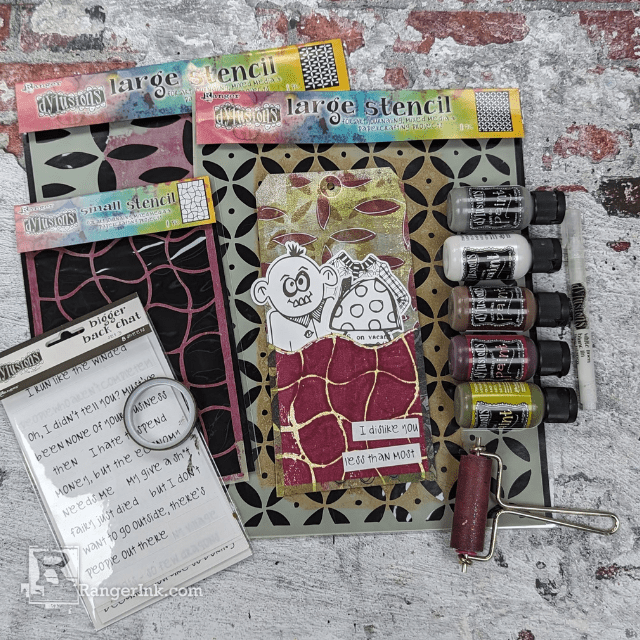
Dylusions Brayered Background Tag by Denise Lush
- Materials
- Instructions
Dylusions Flip Cap Paint Tree Bark
Dylusions Flip Cap Paint Cranberry Juice
Dylusions Flip Cap Paint Jungle Leaf
Dylusions Flip Cap Paint Rainy Day
Dylusions Flip Cap Paint White Linen
Dylusions Journaling Tags #10 Mixed Media
Dylusions Stencil Large Retro Grid
Dylusions Stencil Large Dot Grid
Dylusions Stencil Small Street Map
Gel Plate 3 Pack Assortment
Gel Plate Brayer Medium
Dylusions Bigger Back Chat - White 3
Dylusions Washi Tape
Dylusions Paint Pens Black & White
Instructions

Step 1: Gather your 5.5” x 11” gel plate, brayer, 2 #10 tags and Dylusions paints in the following colors; Tree Bark, Cranberry Juice, Jungle Leaf, Rainy Day and White Linen.
Step 2: For your first tag you will brayer Dylusions Rainy Day onto your gel plate. No need to worry about getting an even coverage. We’re going for a grungy, imperfect look. Pull the print on your #10 Dylusions Tag.


Step 3: Repeat the process with Dylusions Jungle Leaf and then White Linen. Just applying paint in areas, not all over the gel plate, as shown in the first picture.
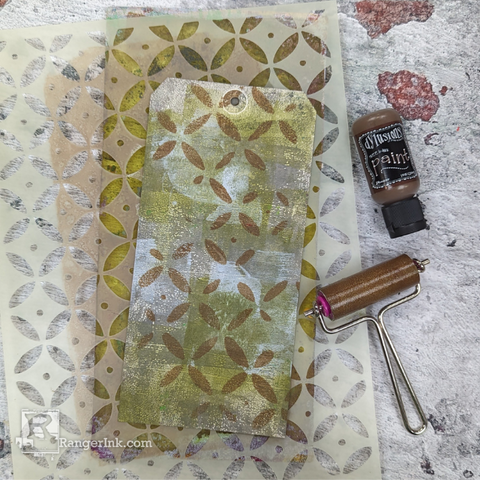
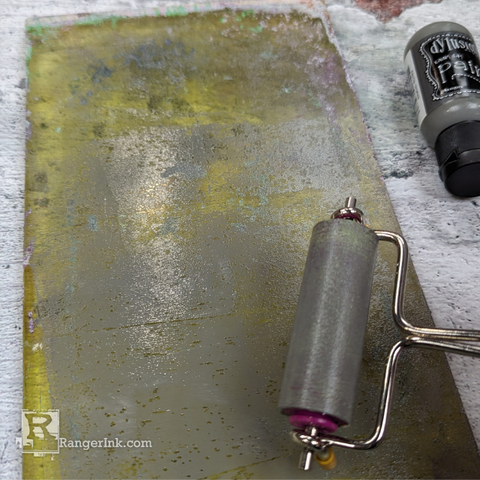
Step 4: Apply Dylusions Tree Bark all over your gel plate. Place your large stencil, Dot Grid on top of your gel plate. Leaving the stencil in place, lightly press your tag on top, not rubbing the back of the tag. This just lightly touches the plate so you get an uneven image.

Step 5: Repeat the same process using Dylusions Cranberry Juice and the large stencil Retro Grid.
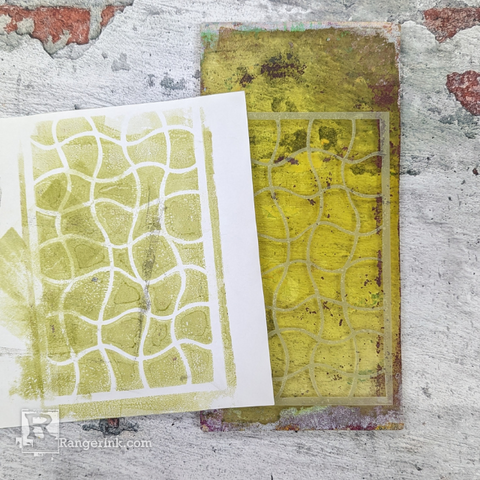
Step 6: Moving onto your second tag. Cover your gel plate with Dylusions Jungle Leaf and lay down your small stencil Street Map. Leaving the stencil in place, take a scrap piece of paper and remove the exposed paint.
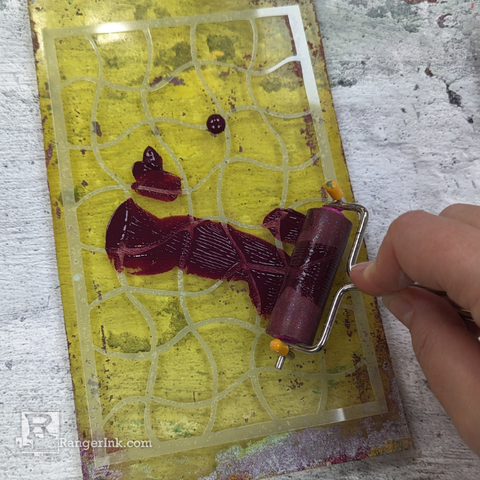
Step 7: With the stencil still in place on your gel plate, brayer Dylusions Cranberry Juice all over the stenciled area.
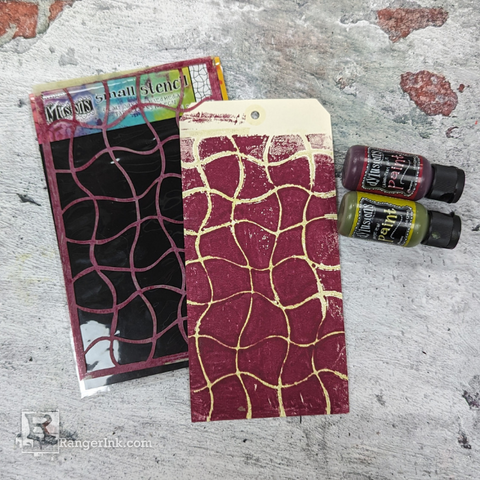
Step 8: Remove the stencil and pull the print onto your second (blank) #10 Dylusions tag.
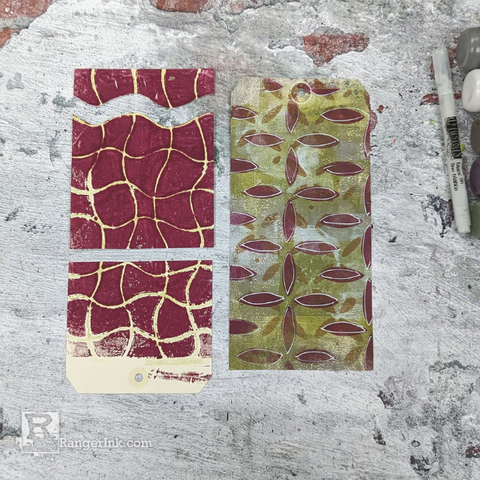
Step 9: Take your second tag, the one you just printed on; and cut along a wavy horizontal line. Cut the tag again straight across giving you a piece measuring 4” long with the wavy edge on top.
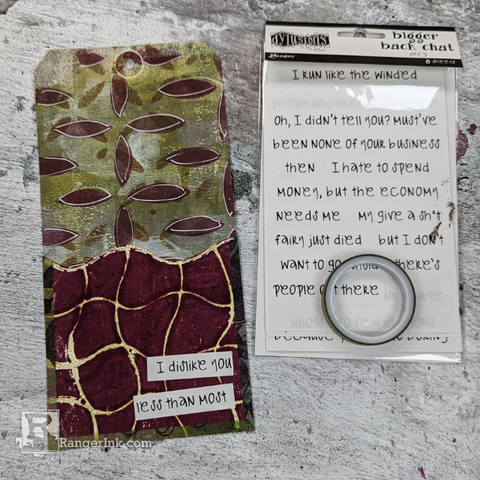
Step 10: Attach the cut tag along the bottom of your full tag using your favorite Dylusions washi tape. Then add a quote from Dyan’s bigger back chat stickers. This quote “I dislike you less than most” comes from White – Set 3. You may also add some white doodles to your tags.
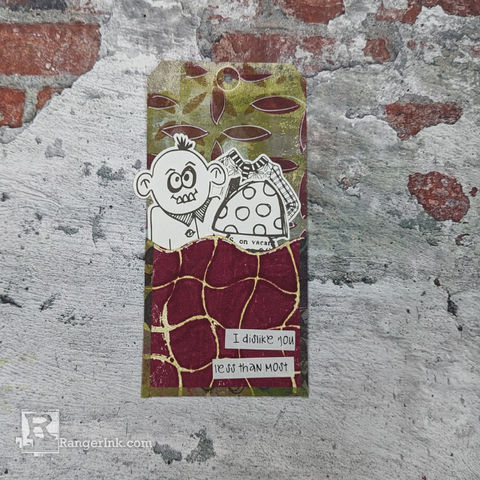
Now you have a completed tag ready to use. You could use this tag as bookmark with a place to also tuck some notes. You could use it to hold a special note for someone. You could maybe even tuck it in your art journal with some Dy-cuts ready to be used! How will you use your tag?
 My name is Denise Lush, and I live in Ontario, Canada. I love to create and want to try ALL the things!!! I love to work with bright colors, but I also love grungy layers! As long as my hands are getting inky and painty, I'm a happy girl. I also love sharing what I love to do and inspire others to play and have fun. You can find process videos on my YouTube channel and photos of what I create on Instagram. For more information, go to my website.
 Related Posts

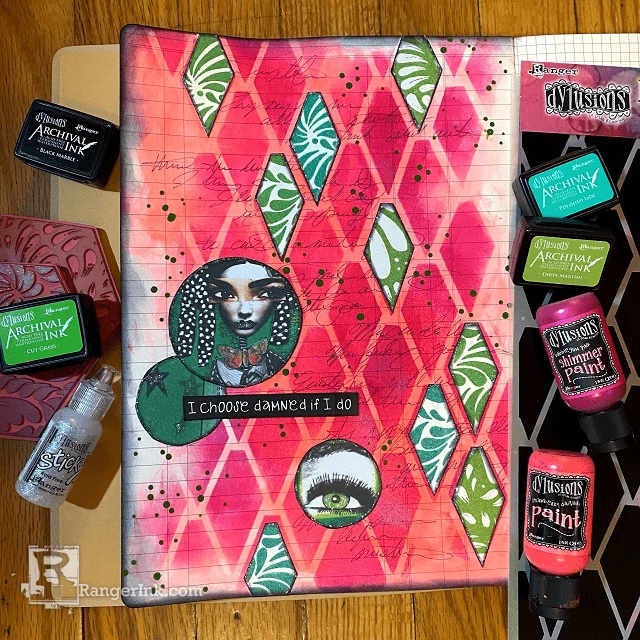
Dylusions Archival Ink Damned If I Do Journal Page by Jess Peters
Explore the latest Dylusions products in this journal page tutorial with Jess Peters! Crafted in the new Large Ledger...
Read More
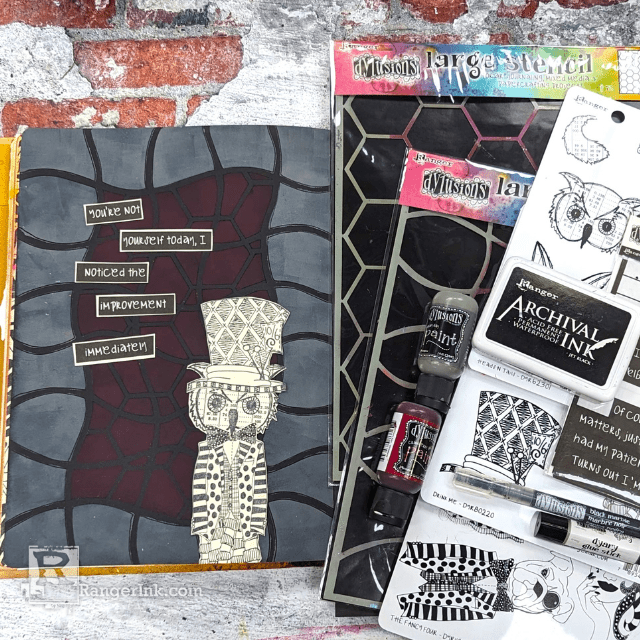
Dylusions Layered Stencil Journal Page by Denise Lush
Check out this cool Dylusions journal page tutorial by Denise Lush! Follow along as she demonstrates the art of...
Read More