


by Richele Christensen

DIY Christmas Cards by Richele Christensen
- Materials
- Instructions
- Tim Holtz® Alcohol Inks : Lake Mist
- Tim Holtz® Waterbrush : Detailer Tool
- Tim Holtz® Distress Mixed Media Archival Ink Palette
- Tim Holtz Distress Oxide Ink Pads : Antique Linen, Iced Spruce, Frayed Burlap, Broken China, Salty Ocean, Abandoned Coral, Candied Apple, Fired Brick, Luck Clover, Peacock Feather, Peeled Paint, Twisted Citron
- Tim Holtz® DIY – Distress It Yourself Ink Pad
- Tim Holtz® Distress Collage Mediums
- Ranger Brayers
- Ranger Craft Scraper
- Ranger Mini Blending Tool with Foam
- Ranger Adhesive Foam Rolls
- Ranger Surfaces Watercolor Paper
- Ranger Non-Stick Craft Sheet™
- Ranger Heat it™ Craft Tool
- Tim Holtz Idea-ology: Adornment – Snowflakes, Jingle Brads, Mirrored Stars, Trimmings – Metallic, Paper Stash - Classic Kraft
- Tim Holtz by Stampers Anonymous Stamp Sets: CMS312 Flurry and Pine (background); CMS313 Carved Christmas 1; CMS314 Carved Christmas 2; CMS320 Mini Swirly Snowflakes; CMS321 Great Outdoors (words); CMS324 Sparkles and Christmas (background)
Instructions

Step 1: Create a custom DIY pad with three colors. Apply a generous amount of ink to the DIY pad. Rub Craft Scrapper over the ink to work into the pad.

Step 2: Roll the Brayer over the inked pad to collect the ink, apply the ink to the DIY lid to make a color index.

Step 3: Create a few DIY custom pads with your favorite color combinations.
REDS – Abandon Coral, Candied Apple, Fired Brick
GREENS – Lucky Clover, Peeled Paint, Twisted Citron
BLUE/GREEN – Lucky Clover, Peacock Feathers, Salty Ocean

Step 4: Stamp Carved Christmas image (Mitten, Ornament, Tree, etc.) onto Watercolor Cardstock.

Step 5: Create a mask by stamping the image on a Post-It, cut out a little smaller then image and place over stamped image for masking.

Step 6: Stamp Sparkles image over the background with Distress Oxide Ink.

Step 7: Apply Distress Oxide Ink to Craft Sheet, pick up ink with Detail Waterbrush and add watercolor to background if desired.

Step 8: Stamp message on a strip of watercolor cardstock with Archival Ink.

Step 9: Sand and Ink the edges with Frayed Burlap Distress Oxide Ink on a Mini Ink Blending Tool.

Step 10: Add a colored mat to background and message and adhere layers to base Kraft Card. Adhered message to card with foam tape.

Step 11: Tie Metallic Trimmings ribbon around card with a bow.

Step 12: Add embellishments as desired with Distress Collage Medium.


Related Posts

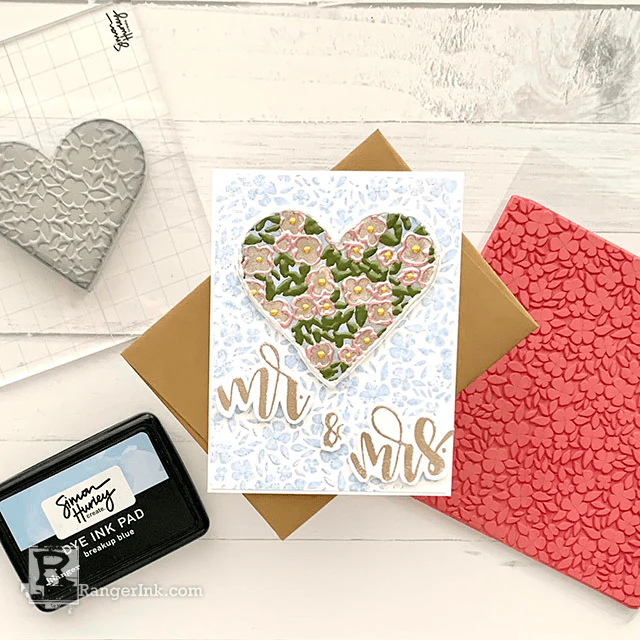
Simon Hurley create. Wedding Card by Lieschen Harshbarger
From heart to hand, a special touch for newlyweds! Follow along as Lieschen Harshbarger creates this enchanting wedding...
Read More
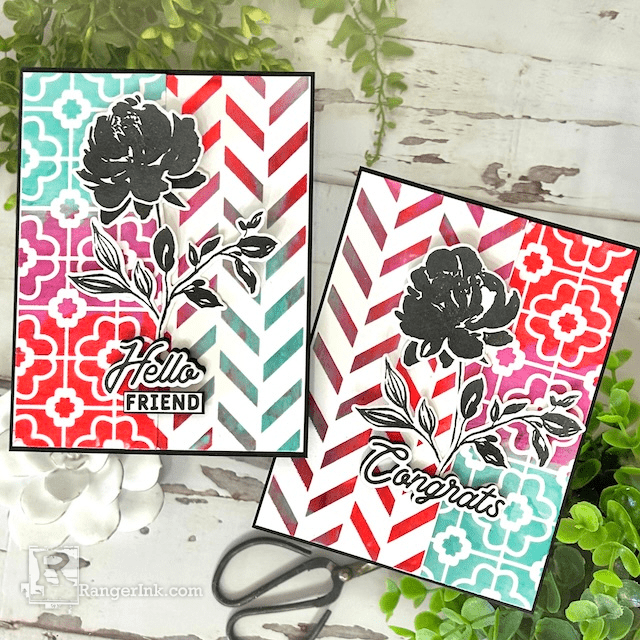
Archival Ink™ and Texture Paste Cards by Kimberly Boliver
Immerse yourself in a world of color and textured bliss with these stunning cards by Kimberly Boliver! Using the...
Read More