


Cheiron Brandon shows you how to monoprint with stencils and sprays to help create fun, festive inky backgrounds using Tim Holtz Distress products.
Distress Carved Christmas Gift Tags by Cheiron Brandon
- Materials
- Instructions
Tim Holtz Distress® Spray Stains: Old Paper, Pumice Stone, Victorian Velvet, Chipped Sapphire, Salvaged Patina, Salty Ocean
Tim Holtz Distress® Oxide Sprays: Iced Spruce, Villainous Potion, Evergreen Bough
Tim Holtz Distress® Ink Pad: Frayed Burlap
Mini Ink Blending Tool
Tim Holtz Distress® Oxide Ink Pads: Festive Berries, Rustic Wilderness, Fossilized Amber
Tim Holtz Distress® Sprayer
Ranger Heat It™ Craft Tool
Ranger Adhesive Foam Tape
Tim Holtz® by Stampers Anonymous Carved Christmas 1 CMS313
Tim Holtz® by Stampers Anonymous Carved Christmas 2 CMS314
Tim Holtz® by Stampers Anonymous Layering Stencil Concerto THS067
Tim Holtz® by Stampers Anonymous Layering Stencil Linen THS061
Tim Holtz® by Stampers Anonymous Layering Stencil Deco Arch THS147
Other
Splat Box
Instructions
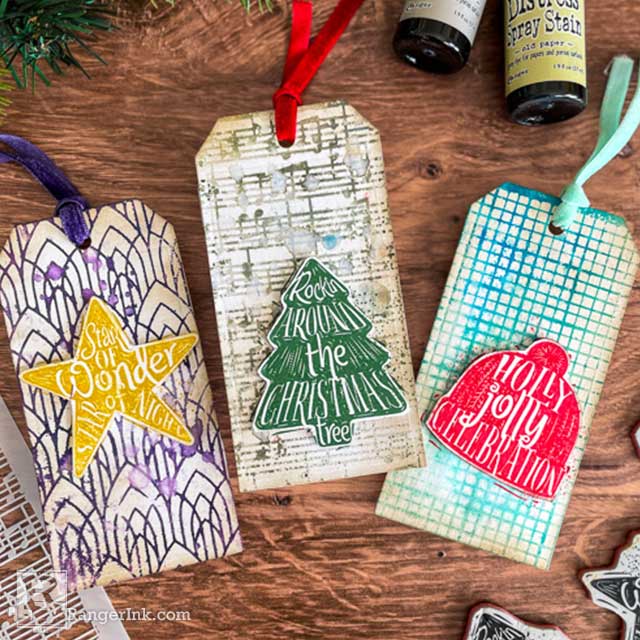
Hello there, crafty friends! It’s Cheiron Brandon here to share some quick and easy Christmas tags with you today. I am playing with a fun technique that I have not done in a while, monoprinting with stencils to help create fun, festive inky backgrounds and adding stamped images complete with messages that practically stand on their own.

Step 1: Spray the inks onto your stencil inside of a splat box. I used a combo of inks and oxides for this and will list the color combos for each of the three tags at the bottom of this post in case you want to try them for yourself. Keep in mind if you are using words or music you will want to spray on the back of your stencil, or they will print backwards!

Step 2: Pick up the inky stencil carefully and turn it over and place it onto one of your tags ink-side down.

Step 3: Press a paper towel (or rag) over the stencil and press down gently. This will absorb any excess ink that is coming up from under the stencil and able you to make your monoprint.

Step 4: Remove the stencil and dry your tag with a Heat Tool.

Step 5: Repeat steps 1-4 with different stencils if desired.

Step 6: Spray stencils with water using a Distress Sprayer to add some interest and move the inks around. Dry again with Heat Tool.

Step 7: Ink the edges of all the tags with Frayed Burlap Distress Inks.

Step 8: Stamp the images from the Carved Christmas in Distress Oxide inks (stamp onto the tags as well if you wish to get the carved lines that will be removed when we cut out the images in the next step). Dry the ink with a heat tool.

Step 9: Cut out images, distress the edges with Frayed Burlap Distress Ink and add to the tags with foam tape.

Step 10: Finish your tags by tying coordinating colors of Velvet Trims through the holes at the top of the tag.
What can you do with these tags? Add them to a gift, gift bag, bottle of cheer or even to a card! They are super fun to create!
As promised ink and oxide spray color combos:

Combo 1: Iced Spruce Oxide Spray and Old Paper and Pumice Stone Distress Spray Stain

Combo 2: Villainous Potion Oxide Spray, Victorian Velvet and Chipped Sapphire Distress Spray Stain

Combo 3: Evergreen Bough Oxide Spray and Salvaged Patina and Salty Ocean Distress Spray Stain
 My name is Cheiron Brandon. I live in Bayonne, New Jersey with my husband and our two adorable rescue pups, Big Boy and Oreo. I work in the financial district by day and love to play with stamps, ink and paint at night in my studio. I teach monthly card making and mixed media classes in NYC. You can find me on my blog at www.cheironbrandon.typepad.com and posting more often @cheiron on Instagram!
Related Posts

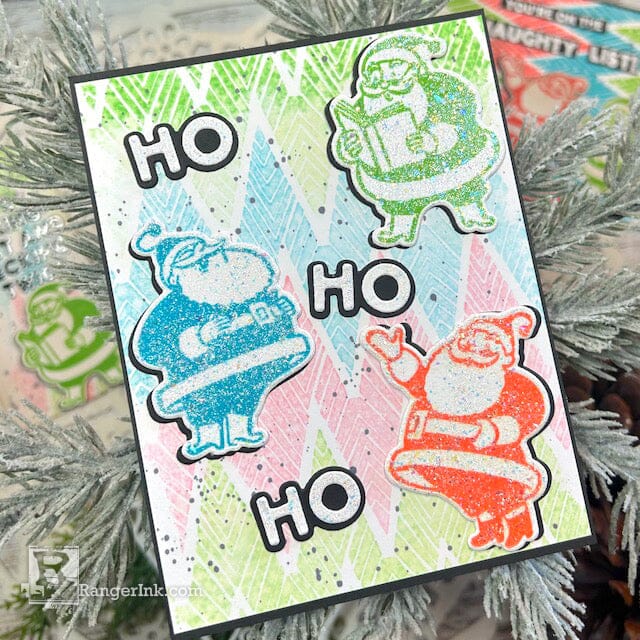
Make your Santas Sparkle with Stickles Glitter Gels by Kimberly Boliver
Upgrade your holiday cards with Stickles Glitter Gels! In this festive tutorial, Kimberly Boliver makes Santa sparkle with vibrant...
Read More
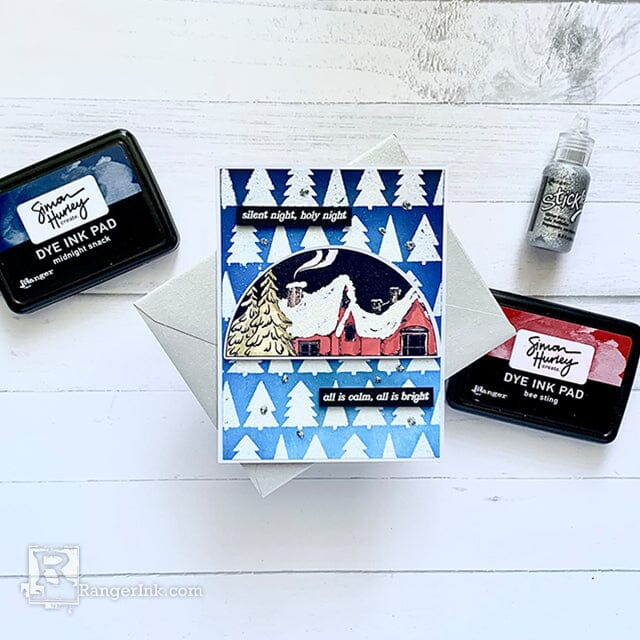
Simon Hurley create. Woodsy Christmas Card by Lieschen Harshbarger
Still immersed in the holiday card-making spirit? Get inspired with this idea! Lieschen Harshbarger works her magic...
Read More