


Create a worn and weathered look with Distress™ Inks and Embossing Powders!

Count My Blessings By Jen Starr
- Materials
- Instructions
- Distress™ Dye Ink Stamp Pads - various colors
- Distress™ Powder - Aged Mahogany, Spiced Marmalade
- Distress™ Embossing Ink Stamp Pad - Clear
- Inkssentials™ Glossy Accents™
- Inkssentials™ Non-Stick Craft Sheet
- Inkssentials™ Cut n’ Dry Foam™
- Inkssentials™ Heat It™ Craft Tool
- Adirondack® Pigment Pen - Bottle
- Chipboard Letters - Prim & Proper 1½", Monica 1½" and 3" fonts, Zsiage, zsiage.com
- White textured cardstock - 12"-square, 5" x 10" strip and 2" circles, Bazzill Basics, bazzillbasics.com
- Circle Cutter - Creative Memories, creativememories.com
- Rubber Stamps - Dotty Circles Cube (2101), Art Gone Wild, agwstamps.com; Number stamp, Tim Holtz Collection (V2-1108), stampersanonymous.com
- Foam Stamps “my” - Magnetic Poetry, wordsandcrafts.com
- Corner Rounder Punch - McGill, mcgillinc.com
- 5" x 7" black and white photos (2)
Instructions
(1) Apply various colors of Distress Inks to the 5″ x 10″ strip of white cardstock with squares of Cut n’ Dry Foam, using a circular rubbing motion to blend the colors together. Choose brighter colors such as Mustard Seed, Shabby Shutters, Spiced Marmalade and Broken China. Use Heat It Craft Tool to speed drying process.
(2) Ink the Numbers stamp with Distress Embossing Ink. Stamp the image over the inked paper and heat emboss with Aged Mahogany Distress Powder. Remember to always shake the jar of Distress Powder before each use to disperse the release crystals.
(3) Repeat Step #2, varying the direction and position of the stamp until the inked paper is covered. Use the corner rounder punch to round the corners on the left side of the paper.
(4) Working on the 12″-square white cardstock, choose Distress Inks in the green and blue families such as Shabby Shutters, Peeled Paint, Broken China and Denim and apply the colors as noted in Step #1. Be sure to blend the colors and fill the entire sheet of paper.
(5) Ink the Numbers stamp with any of the green or blue Distress Inks and stamp the image repeatedly, covering the sheet. After each stamping, use the Cut n’ Dry Foam to “smudge” or soften each image into the background.
(6) Adhere the embossed 5″ x 10″ paper on to the 12″-square paper, making sure the rounded corners are to the left.
(7) Use Zsiage 1½” Prim & Proper chipboard letters to spell “Counting”. Ink each letter with Spiced Marmalade Distress Ink (Note: Distress Ink can be used to emboss because it has a longer drying time!) and emboss with Spiced Marmalade Distress Powder. When cool, use your finger to rub off release crystals to create a more distressed effect.
(8) Mix Zsiage chipboard fonts Monica and Prim & Proper to spell out “Blessings”. Ink each letter with Spiced Marmalade Distress Ink, then emboss with Aged Mahogany Distress Powder; rub off release crystals when cool. Use Glossy Accents to adhere letters to the background paper.
(9) Ink the Dotty Circles Stamp with Clear Distress Embossing Ink (Tip: over ink the stamp so that when stamped there is a distressed circle in the middle). Emboss with Spiced Marmalade Distress Embossing Powder and heat. Use the Adirondack Pigment Pen to write the year in the center of the circle.
(10) Use a circle cutter to cut two 5″ x 7″ photos the same circular size. Cut 2 white cardstock circles ½” larger than the photos and ink the edges of the cardstock with Broken China Distress Ink using Cut n’ Dry Foam. Adhere the photos to the center of the inked cardstock circles, and then attach each matted photo to the layout.
(11) Ink foam stamps to spell “my” with Spiced Marmalade Distress Ink and stamp them in the upper right corner of the layout. Emboss using Aged Mahogany Distress Embossing powder and rub off excess release crystals when cool.
Related Posts

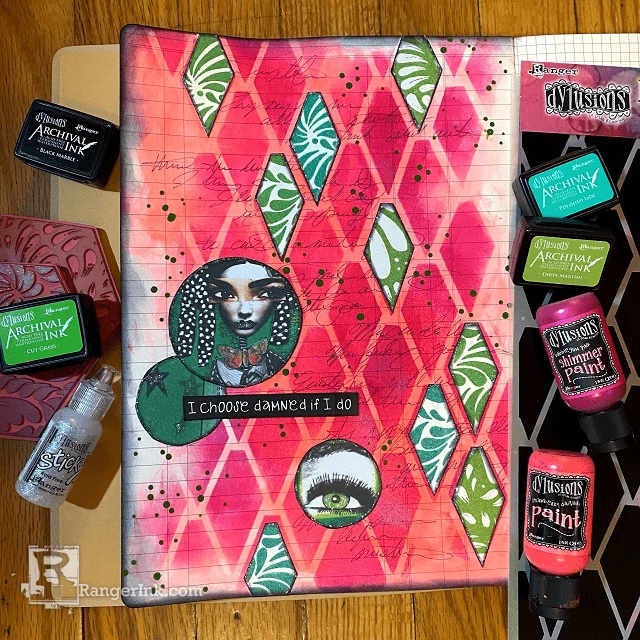
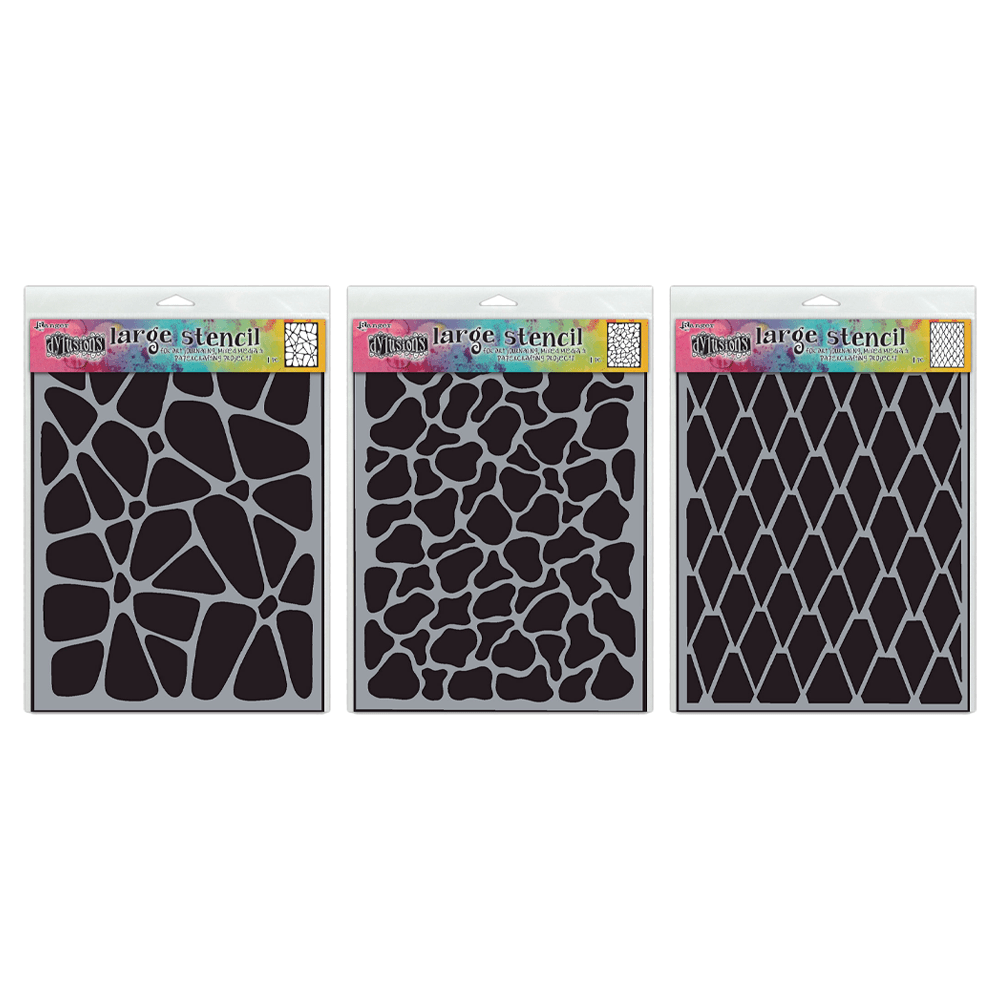
Dylusions Archival Ink Damned If I Do Journal Page by Jess Peters
Explore the latest Dylusions products in this journal page tutorial with Jess Peters! Crafted in the new Large Ledger...
Read More
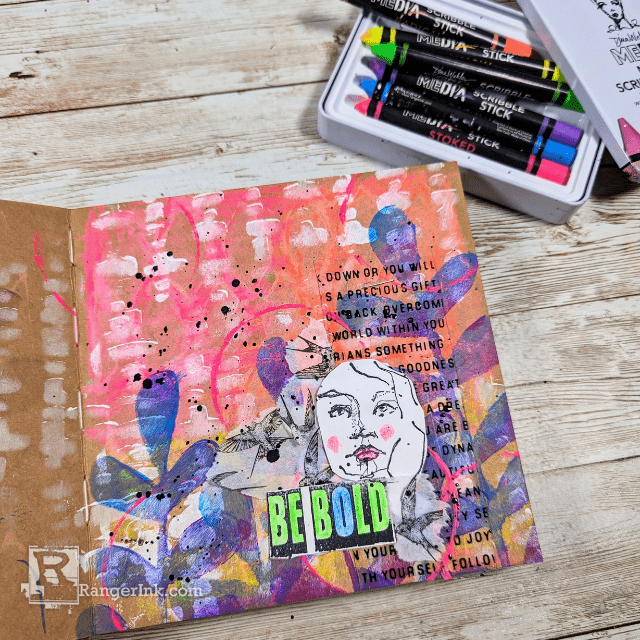
Unleash Creativity with Dina Wakley Neon Scribble Sticks by Laura Dame
Illuminate your journals with bursts of color and energy using the dynamic Dina Wakley MEdia Neon Scribble Sticks! Join Laura...
Read More